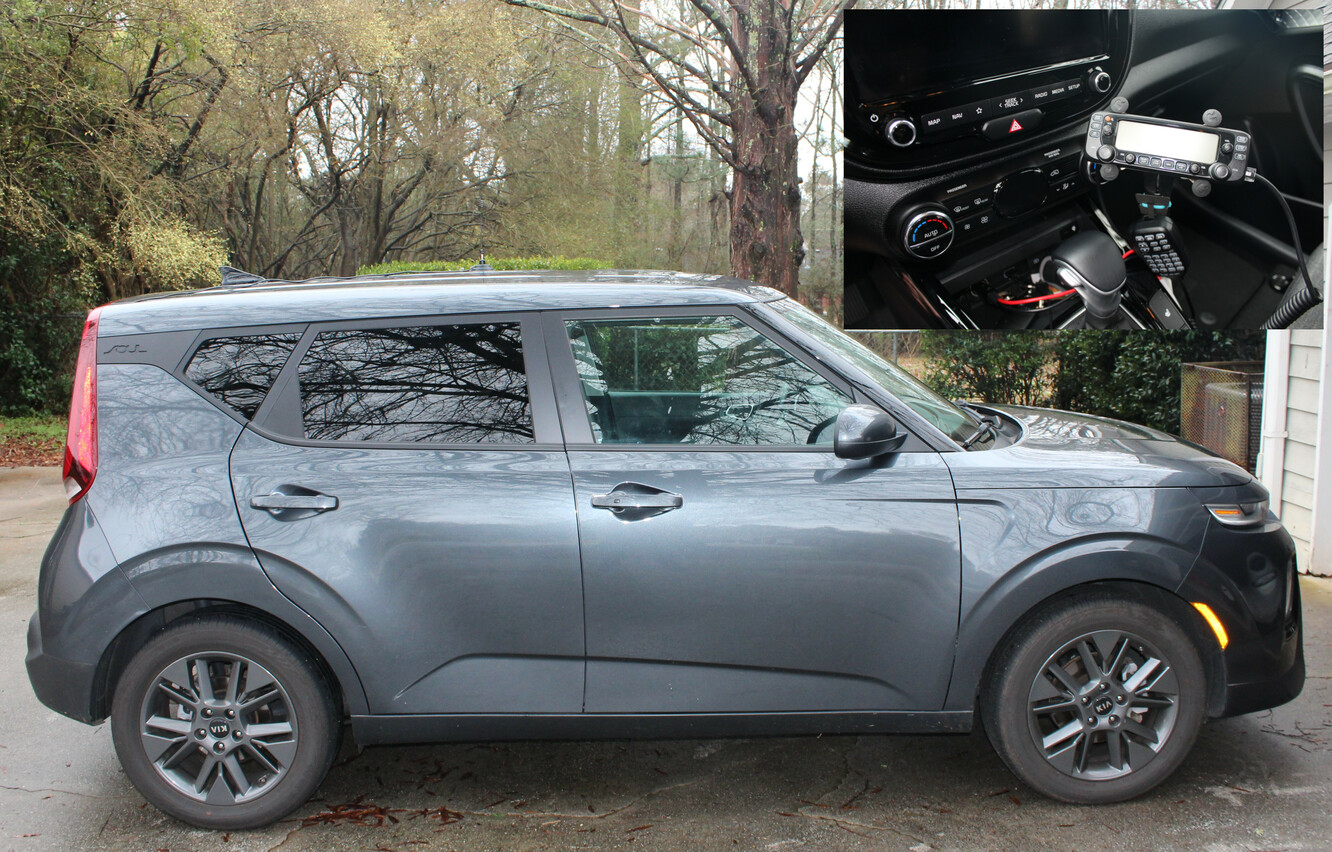
Installing an ICOM 2730a in a 2020 Kia Soul
Using our radios while on outdoor adventures has been fun, and it has been nice knowing that we have an additional means of communication at our disposal should the need arise. One thing that has become increasingly obvious is that driving to different trailheads for our adventures often takes us into areas with limited cell reception. As we mostly spend time hiking in the mountains, we are often close to radio repeaters that have good coverage, so we decided to install our ICOM 2730a in our 2020 Kia Soul to have access to secondary communications should the need arise (or to just ragchew while driving, should we find active repeaters).
Because we currently also use the ICOM 2730a as our home base station, an objective of this install was to make it easy to quickly move the radio between the house and vehicle. Once we upgrade our base station, some aspects of this install will change to support a more permanent installation.
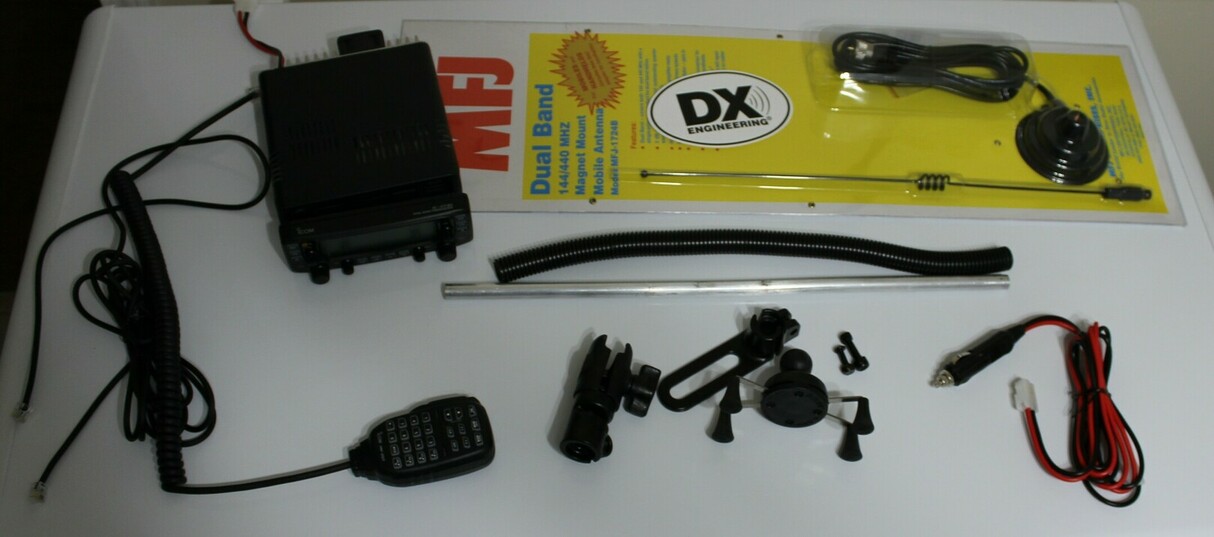
Parts List:
- ICOM 2730a Dual-band transceiver
- RAM Pod I Locking Vehicle Mount with 18” Rod and Socket Arm
- RAM Mount X-grip phone holder (taken from an older RAM mount we had)
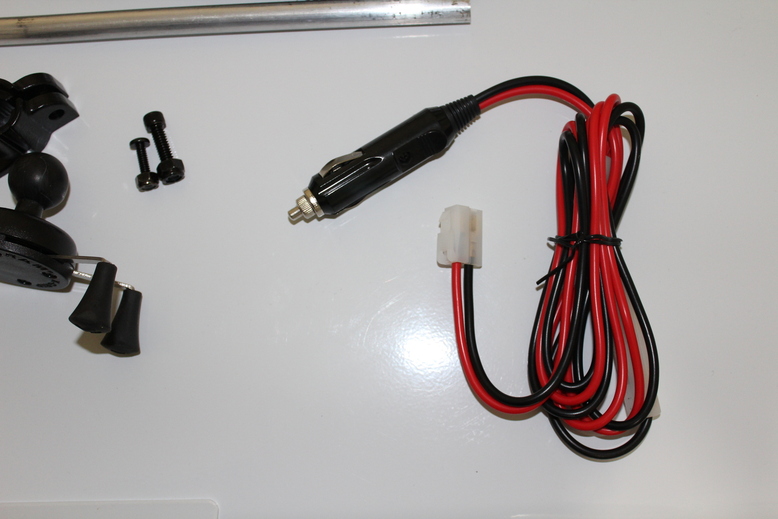
- Fused DC power cable with t-connector and cigarette lighter adapter
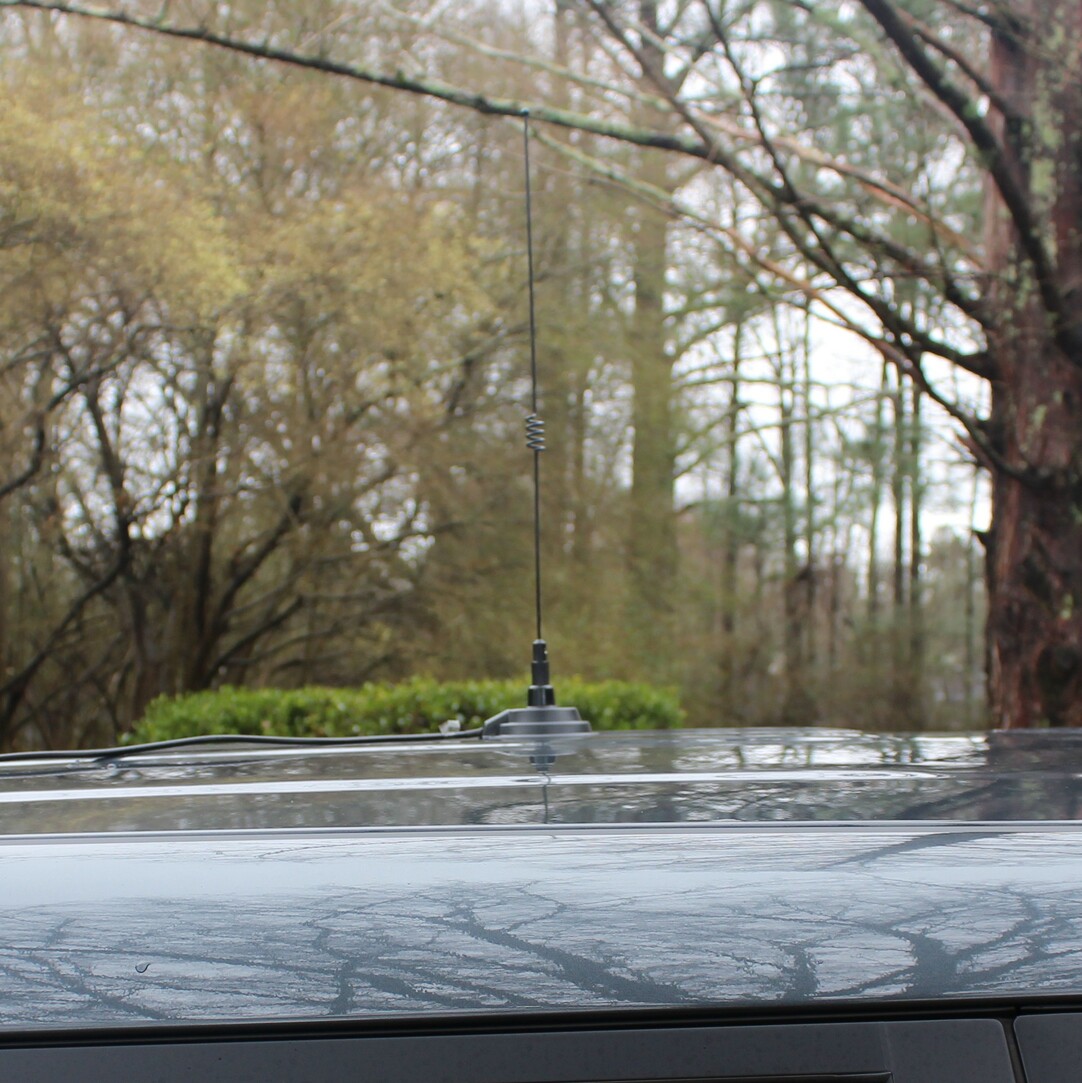
- MFJ-1724B Dual-band mobile antenna with magnetic mount
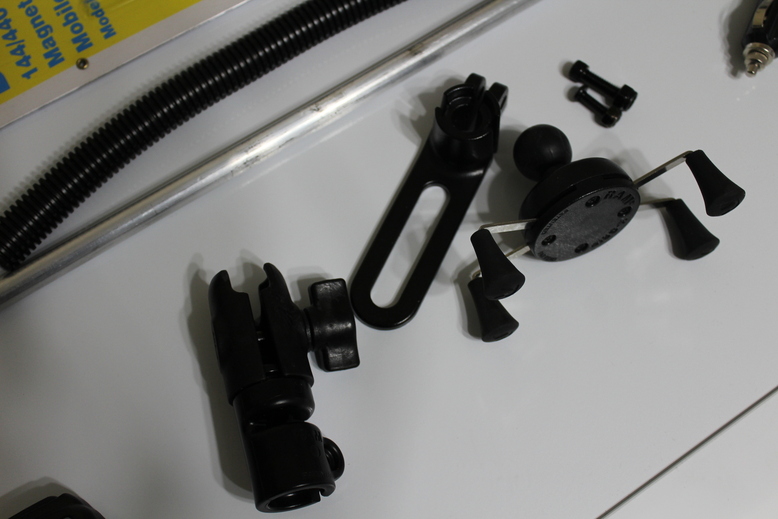
The RAM Pod I Locking Vehicle Mount with 18” Rod and Socket Arm is essentially a long aluminum rod that can be bent into a desired shape along with a bracket that attaches to one of the seat mounting bolts and a socket that goes on the other end to hold the RAM mount. This provides a secure location for mounting the radio head in a convenient and accessible location. To install this mount, the front left bolt mounting the passenger seat was removed (using a 14 mm socket and rachet), and then the seat bracket for the arm was placed under the seat rail. The bolt was then securely tightened. To level the seat, a washer of the same thickness as the mount was added to the opposite seat rail.
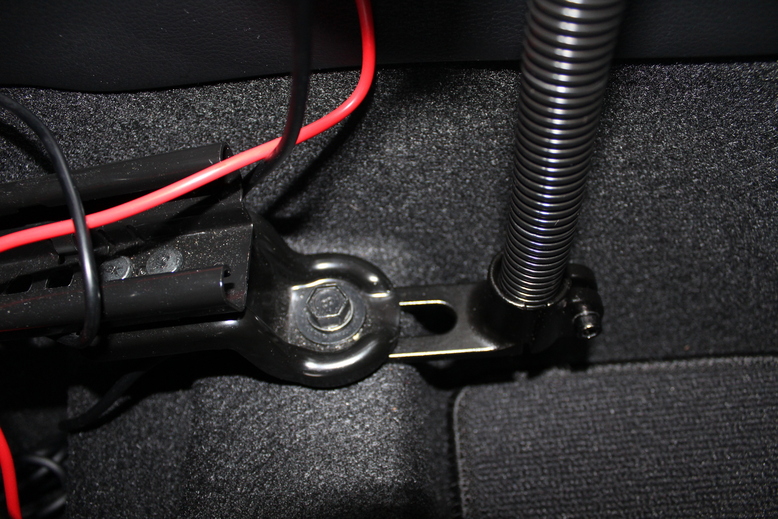
After installing the seat bracket, the aluminum rod was placed into the bracket to determine where to bend the rod to avoid interference when moving the seat. However, after putting the rod into the mounting bracket, we realized that for this install, it would not be necessary to bend it. Easy win!
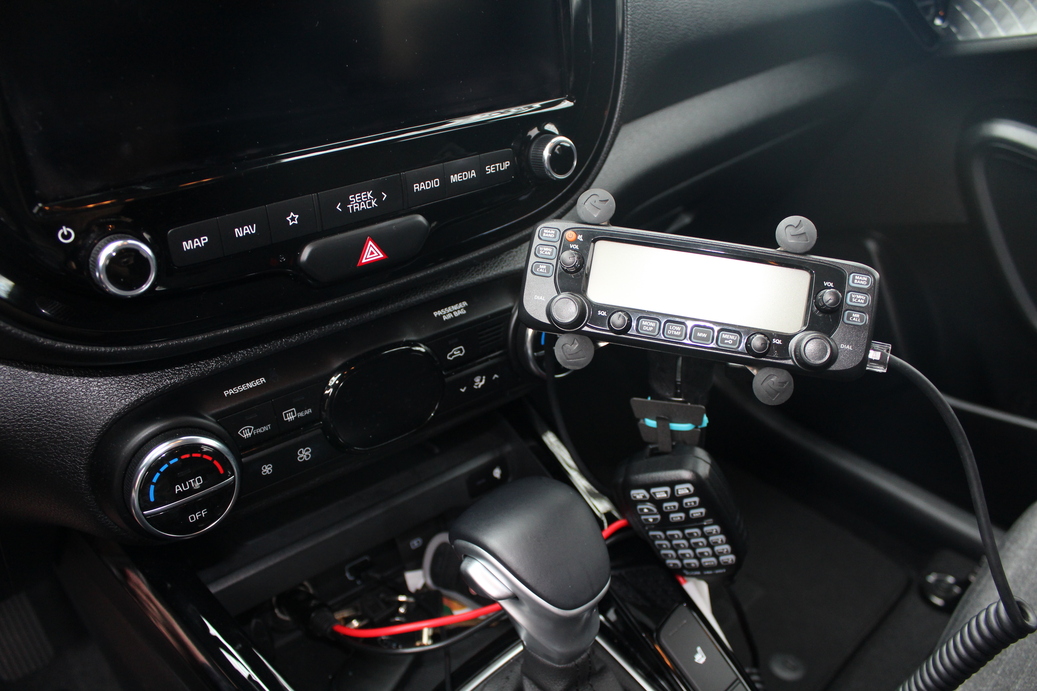
The RAM mount also included a piece of loom to cover the rod, which was then slid over the rod before mounting the socket arm. The socket arm mounts to the top of the rod using the supplied bolt. After securing the socket arm, the X-grip phone holder was inserted and adjusted to the correct viewing angle for the head unit. Because this is a ball and socket setup, it is easy to adjust the viewing angles of the head unit by simply loosening the tension bolt.
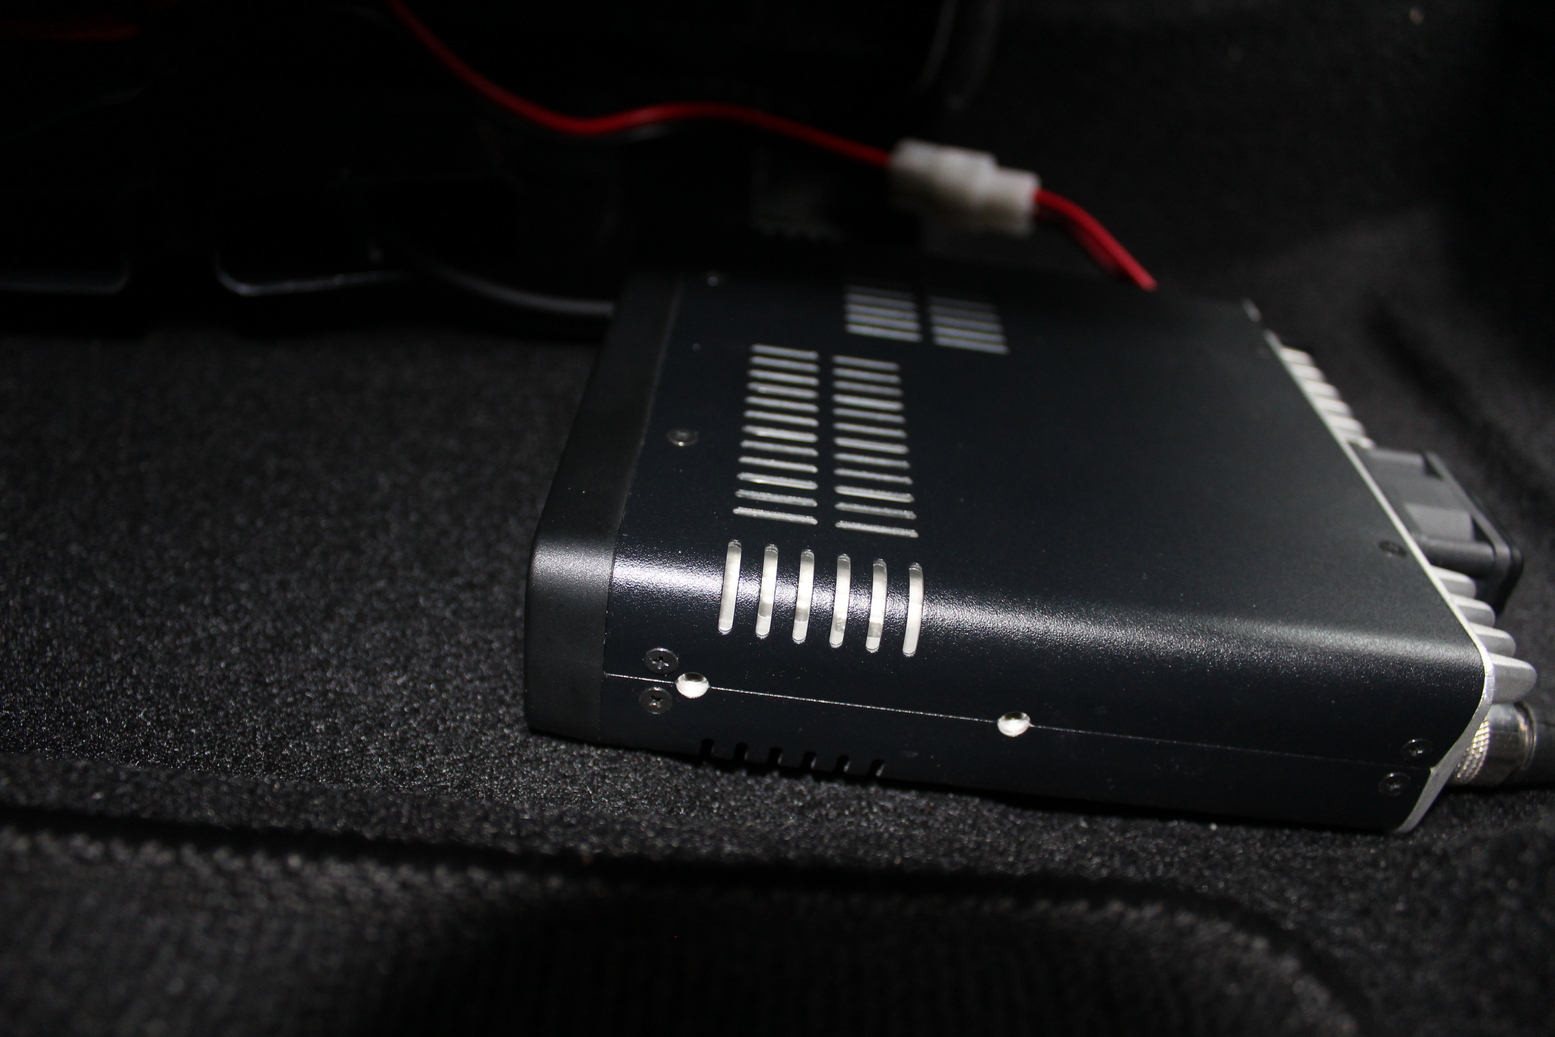
Because of the requirement of being able to quickly move the radio between base station and mobile use, it was decided to just locate the radio under the passenger seat. To prevent the radio from sliding during driving, some Velcro with adhesive backing was used to secure the radio to the floor under the seat. The power cable (which includes a fused cigarette adapter) was connected and routed to the accessory port in the center console (Note that the accessory port in this vehicle is rated for 180 W, which should support ~ 15 A of current at 12 VDC. The current drain for the 2730a during transmit, according to the owner’s manual, at 7.4 VDC is 13A. Thus, for a temporary installation, this outlet should be sufficient. Eventually, the power will be supplied directly from the battery).
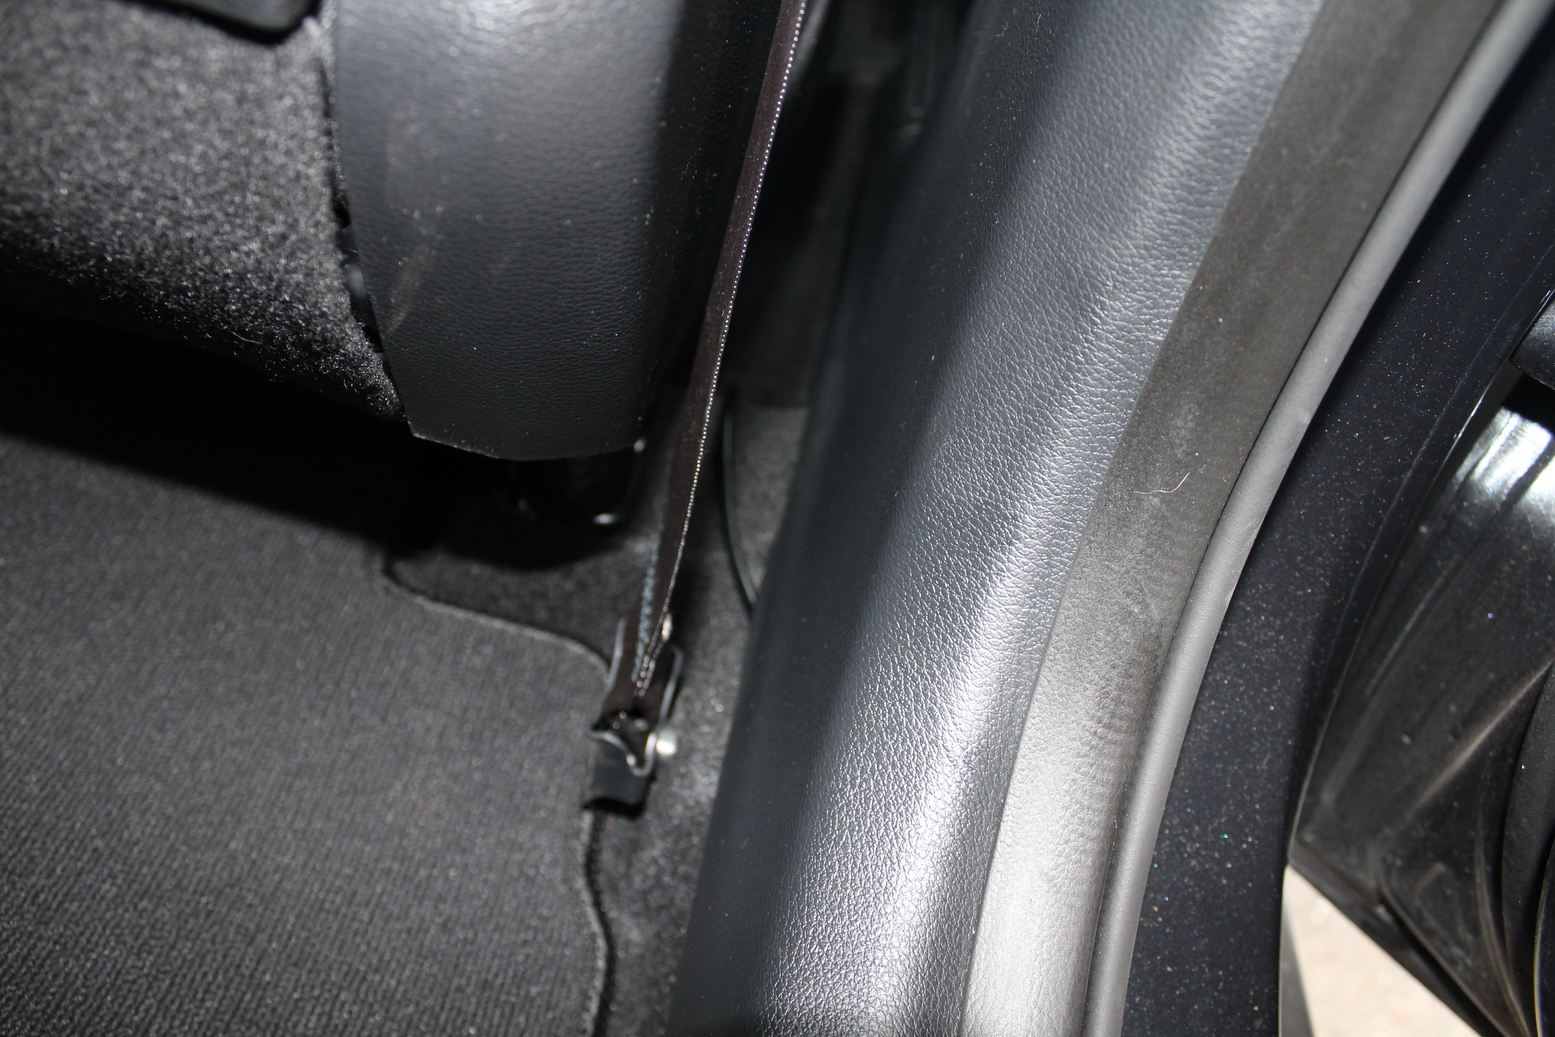
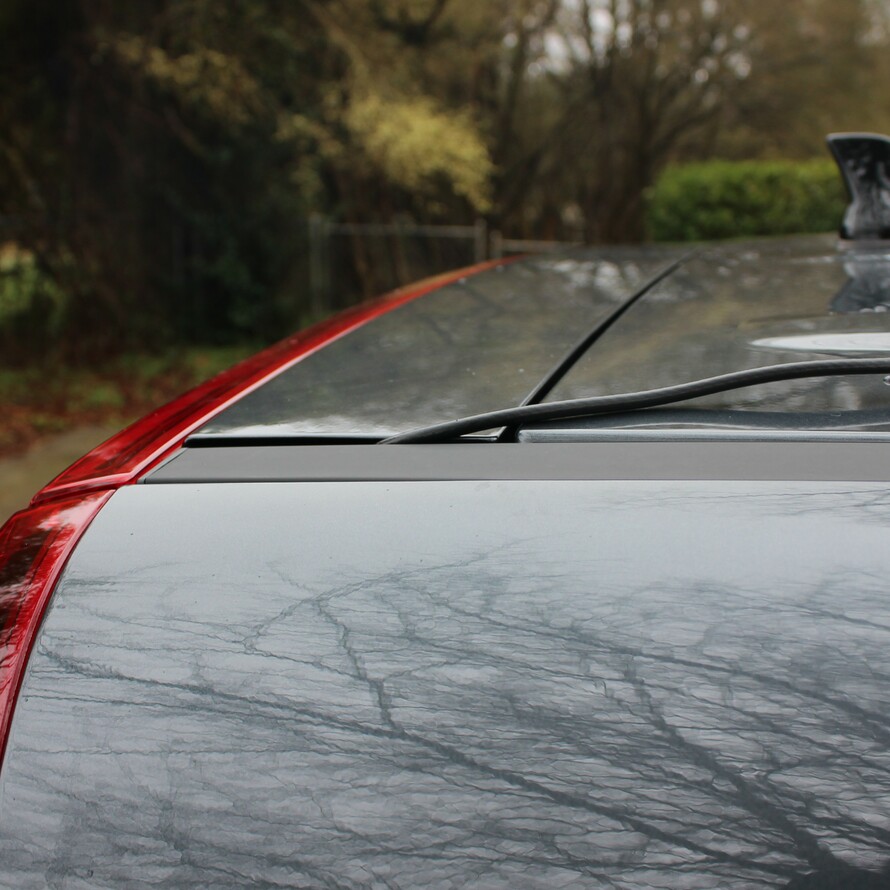
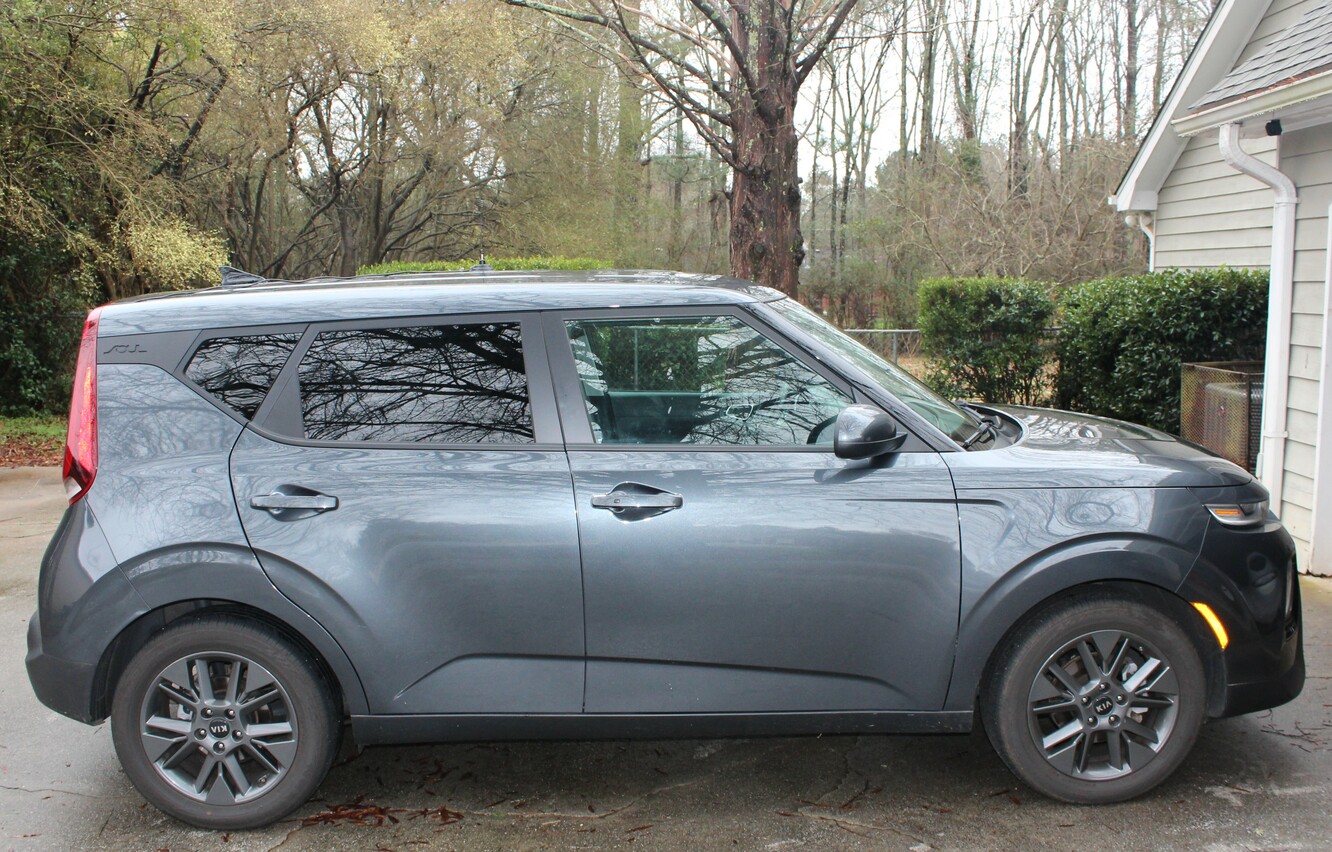
Finally, the antenna was placed on the center of the vehicle’s roof, and the antenna cable was routed through the cargo area to the radio located under the passenger seat. The power cable and head unit control cable were then routed from under the front of the passenger seat to the radio.

After the install, we tested the radio during our drive to take our exam for our General licenses (we passed, so we’ll be exploring new frequencies soon!). On our drive home from the exam, we were able to reach a repeater located 60 miles away in Gainesville, GA (this repeater is located on a mountain peak, so it does have a significant elevation advantage), and we were receiving very good signal reports. We were also able to reach a repeater located ~25 miles away in Walton County, where we had a nice conversation with a fellow ham. Overall, the install was a success, and the performance has greatly exceeded our expectations, especially for a “temporary” mounting solution.
To do once this radio is no longer needed as a base station:
- Route the power cables directly from the battery to the radio (requires routing the wires through the firewall)
- Permanently mount the antenna to the roof of the vehicle (requires drilling a hole in the roof)
We hope this article has been helpful!
Until next time,
73!